Astral GoCardless - Help:
Watch the Video
Please note, before you manually set up a Direct Debit you will need to make your Customer aware that it is backed by the Direct Debit Guarantee, and we recommend that you speak to your contact at GoCardless in relation to FSA approved scripts for your team to use.
From the Role Centre, click ‘Mandates’.
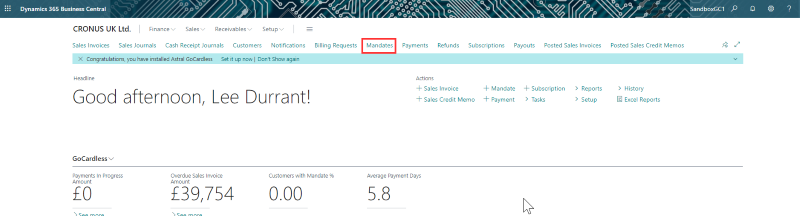
Figure 1 | Navigate to Mandates
Now, go to ‘Actions’ and select ‘GoCardless New Mandate Entry Wizard’.
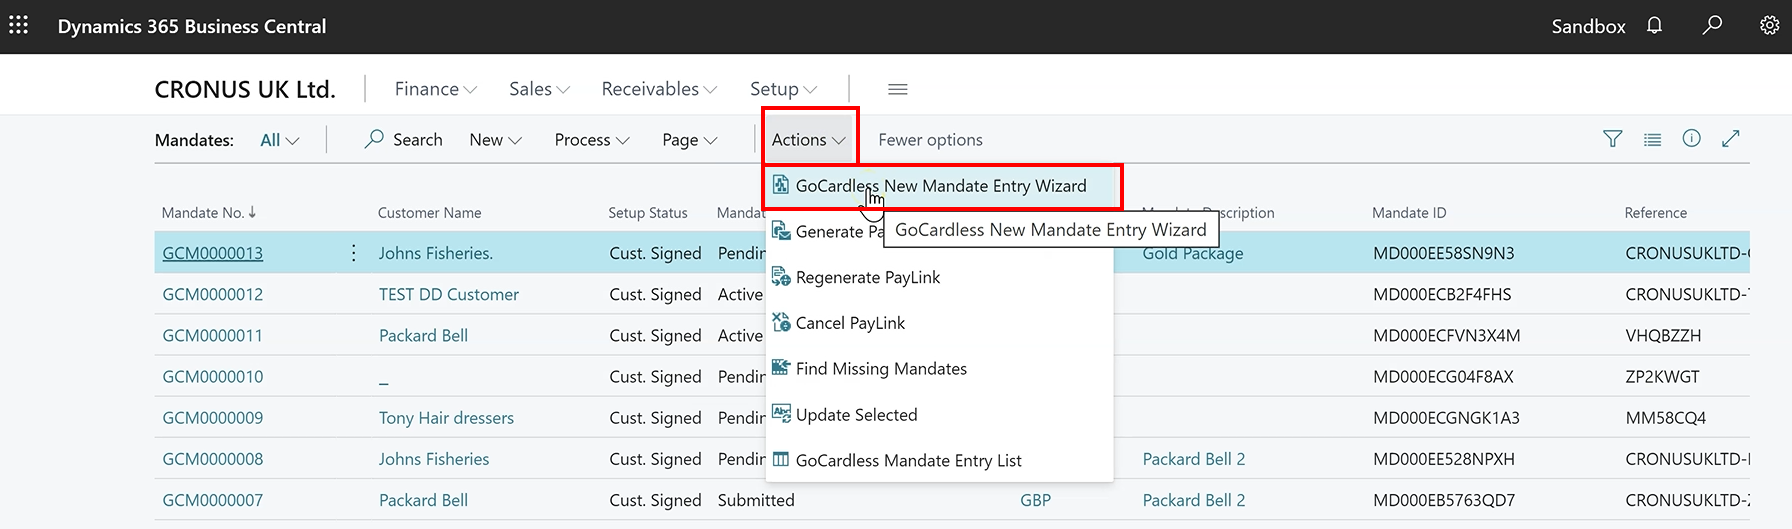
Figure 2 | GoCardless New Mandate Entry Wizard
The wizard will open.
Click the ellipses for the ‘Customer’ field.
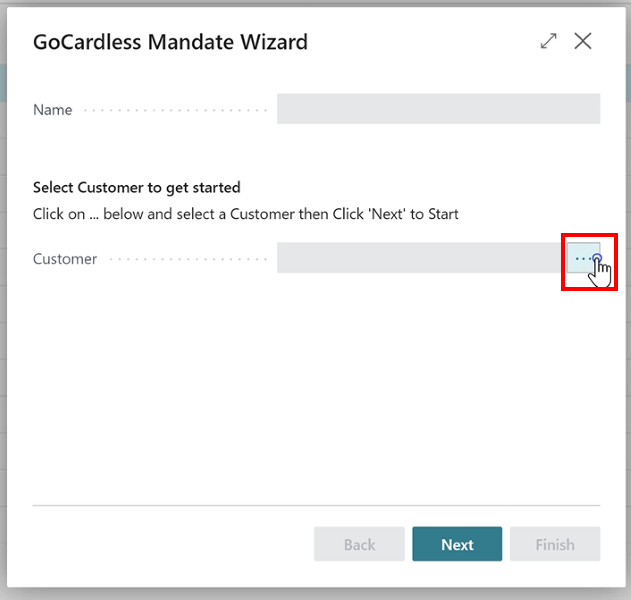
Figure 3 | GoCardless Mandate Wizard
Select a Customer that is already setup, or setup a new Customer by going to ‘+New’.
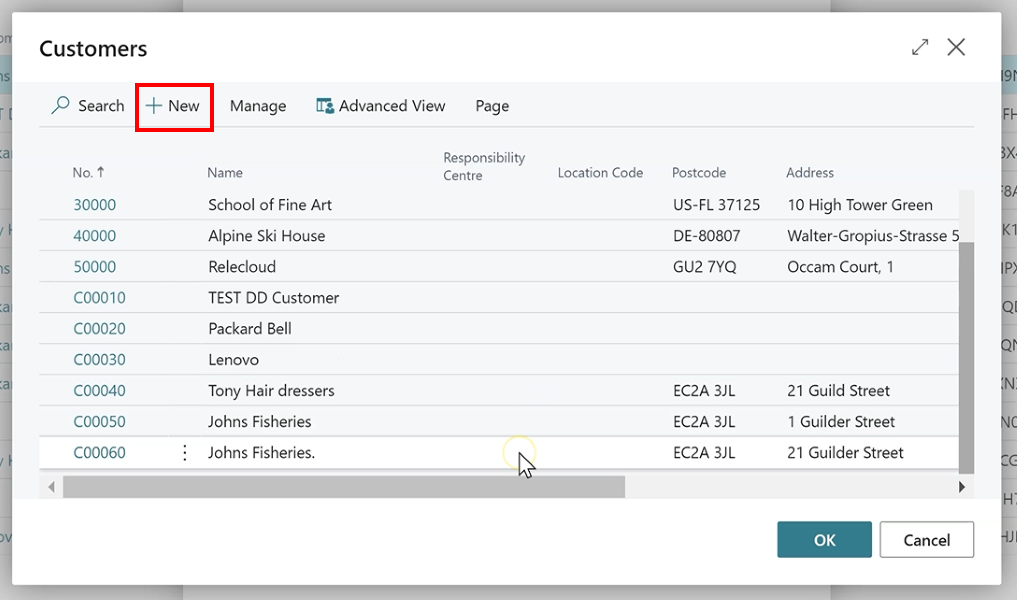
Figure 4 | GoCardless Mandate Wizard - New Customer
Select a template for the new Customer and click ‘Next’.
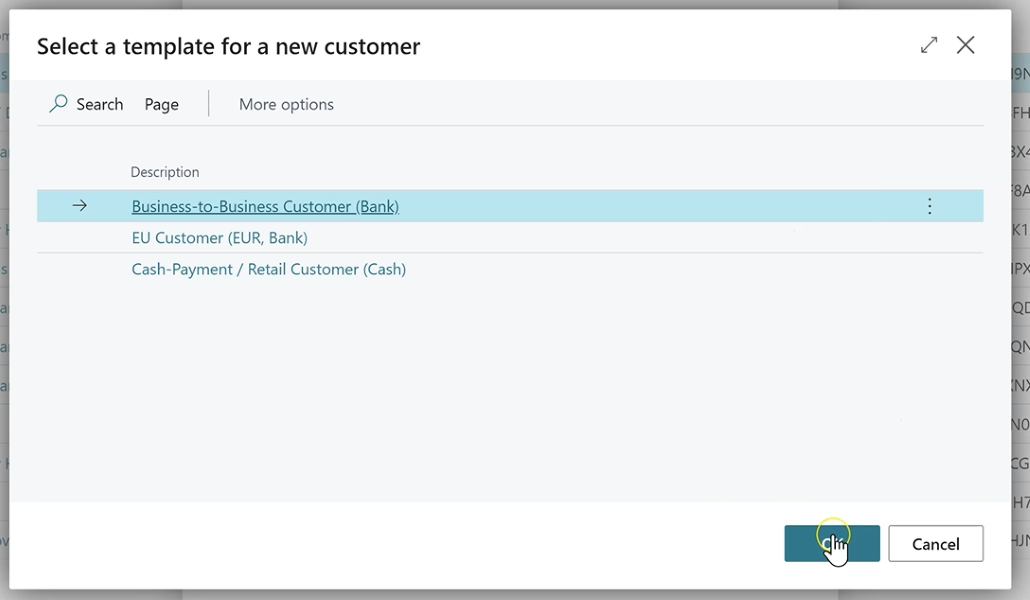
Figure 5 | GoCardless Mandate Wizard - New Customer
Fill in the information under the ‘General’ and ‘Address & Contact’ FastTabs.
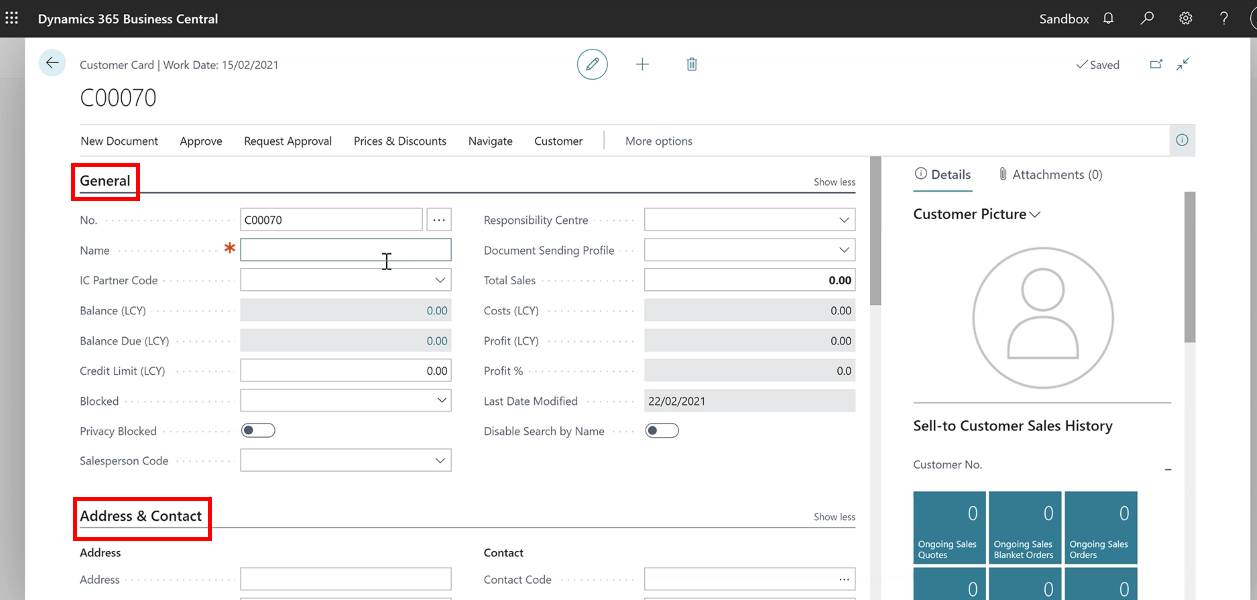
Figure 6 | GoCardless Mandate Wizard - New Customer
The most important thing to do at this stage, is make sure you change the ‘Payment Method’ to ‘GoCardless’.
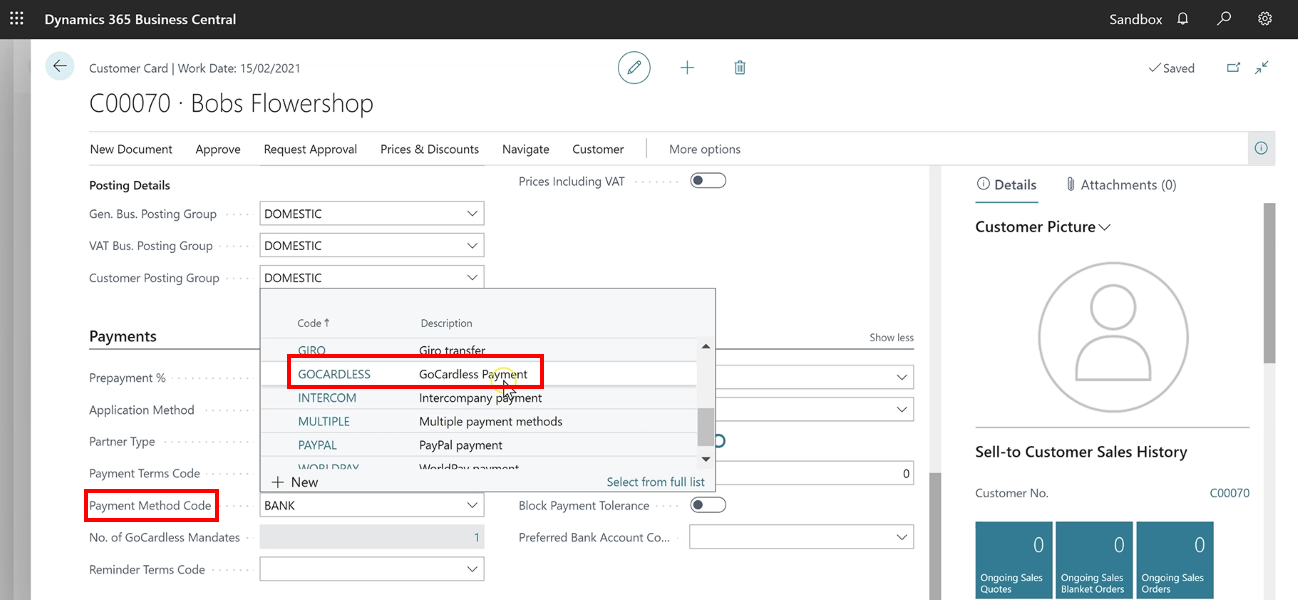
Figure 7 | GoCardless Mandate Wizard - New Customer
Once complete, navigate out of the Customer Card and the new Customer will appear in the list.
Select the Customer and click ‘OK’.
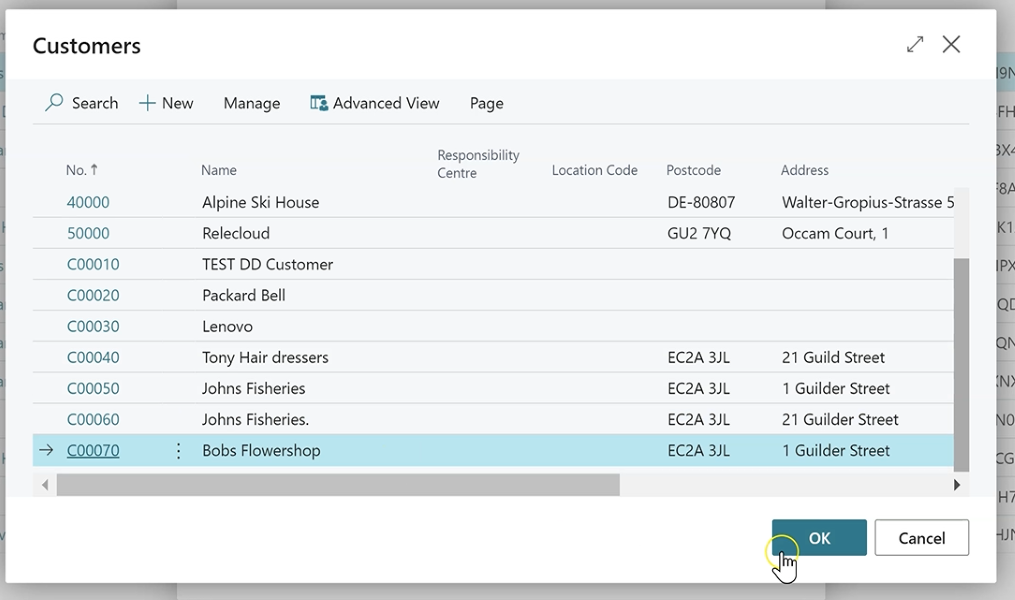
Figure 8 | GoCardless Mandate Wizard - Select Customer
The Customer name will appear in the ‘Name’ and ‘Customer’ fields.
Click ‘Next’ on the Wizard.
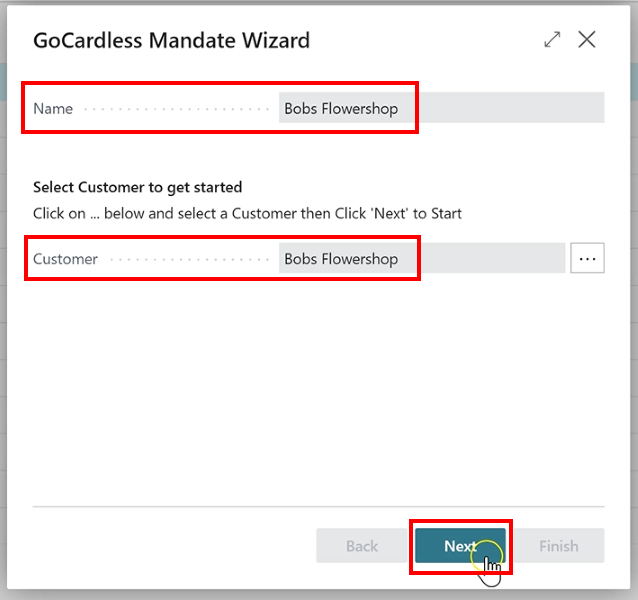
Figure 9 | GoCardless Mandate Wizard
In this screen, there are two options for ‘Mandate Creation Type’; ‘Generate PayLink and Email it’ or ‘Manual Entry’.
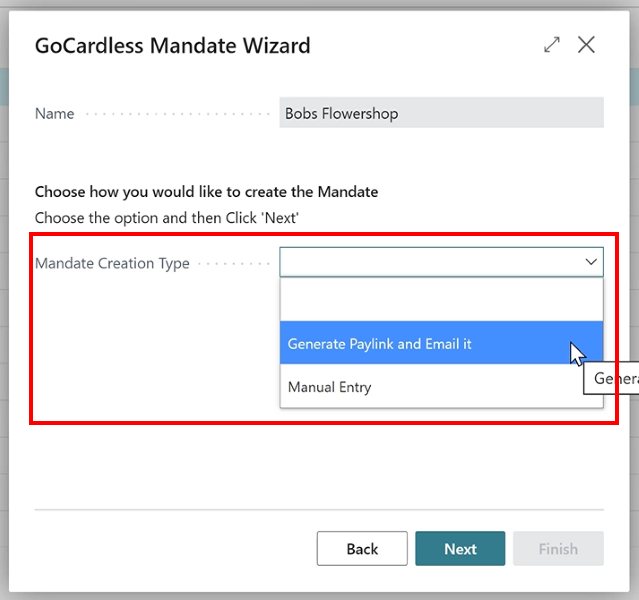
Figure 10 | GoCardless Mandate Wizard - Mandate Creation Type
The ‘Generate PayLink and Email it’ is the standard way to create Mandates where the Customer receives a PayLink email and fills in the information themselves – which is covered in the ‘Creating A Mandate’ section. There is also a newer alternative method that uses the new ‘Billing Request’ method. The Customer would receive a similar email, but it is also possible to request an Instant Bank Payment at the same time as requesting a Mandate.
So in order to manually create a Mandate, select ‘Manual Entry’ and click ‘Next’.
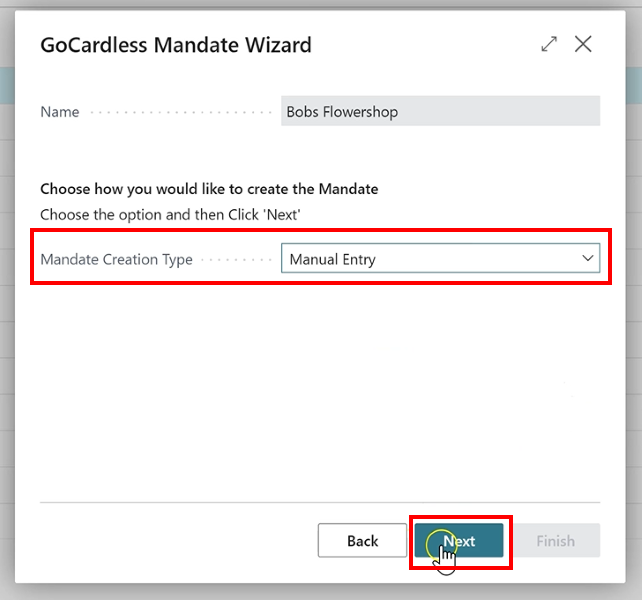
Figure 11 | GoCardless Mandate Wizard - Mandate Creation Type
The Customer information will be pulled through and pre-fill the fields, so simply check the information, adding anything if needed, and click ‘Next’.
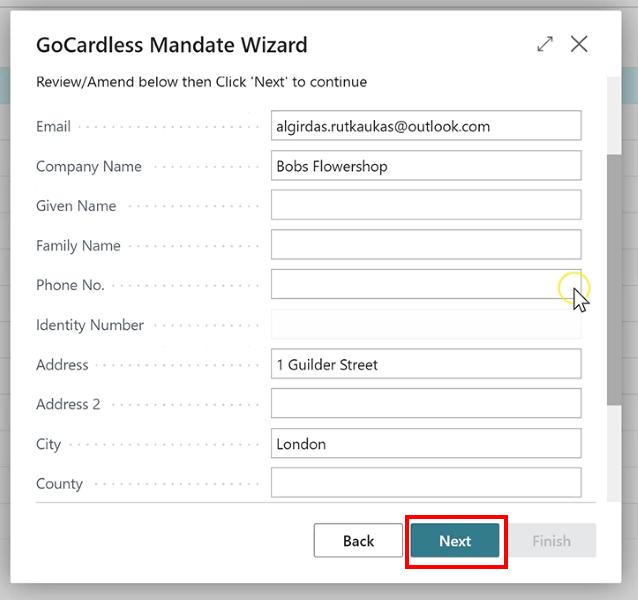
Figure 12 | GoCardless Mandate Wizard - Customer Details
Fill in the ‘Bank Currency’, and ‘Bank Country Code’ for the Customer.
The dropdown for ‘Bank Currency’ provides a list of previously setup Schemes, so select the one for this Customer.
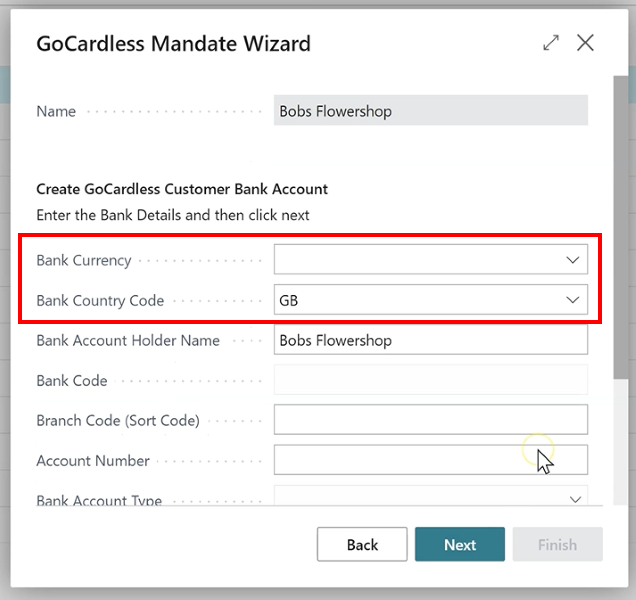
Figure 13 | GoCardless Mandate Wizard - Customer Bank Details
As an example, if we select ‘EUR’ – Euro – for the Bank Currency and then ‘FR’ – France – for the Bank Country Code, the fields below will update accordingly to reflect the type of bank information that is required for France.
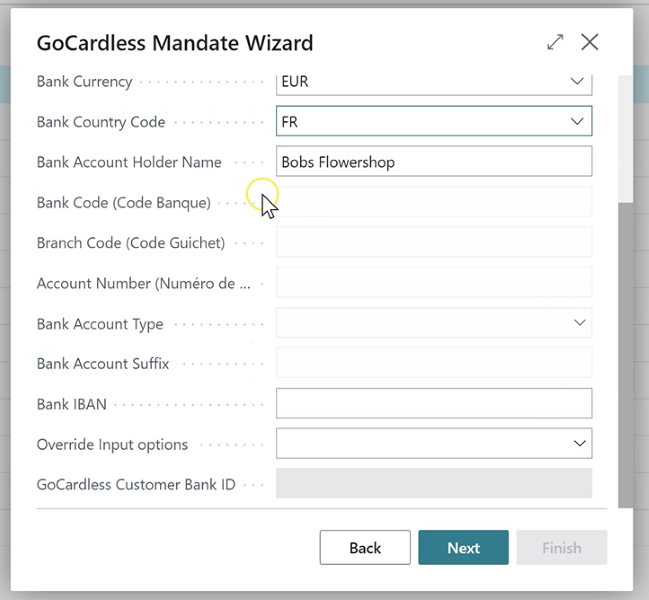
Figure 14 | GoCardless Mandate Wizard - Customer Bank Details
In the ‘Override Input Options’ field, you can select ‘Local Details’ or ‘IBAN’ which will then make the ‘Bank IBAN’ field available.
For this example, we’ll leave the Bank Currency blank, and select ‘GB’ for the Bank Country Code.
By leaving the first field blank, this indicates that the system should use the local currency already setup on the system.
Selecting ‘Local Details’ for the ‘Override Input Options’, fill in the Customers ‘Branch Code’ and ‘Account Number’.
Once you have checked that the information is correct, click ‘Next’.
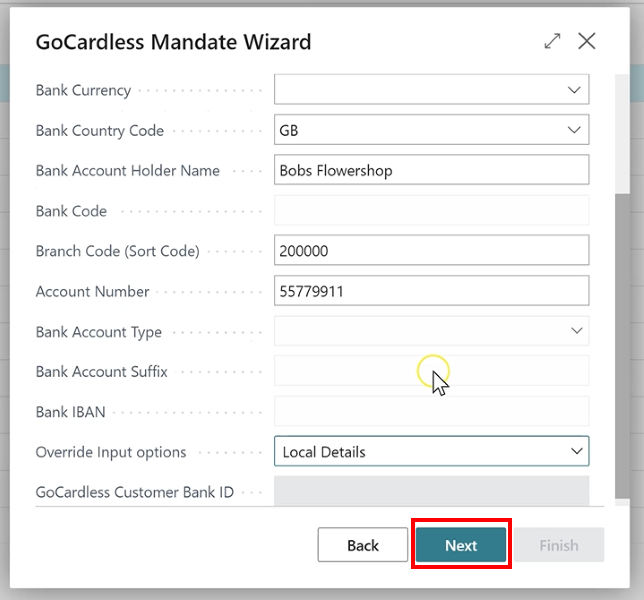
Figure 15 | GoCardless Mandate Wizard - Customer Bank Details
For the ‘Mandate Description’, either select from the list of options in the dropdown, or free type in a new description.
Then, click ‘Next’.
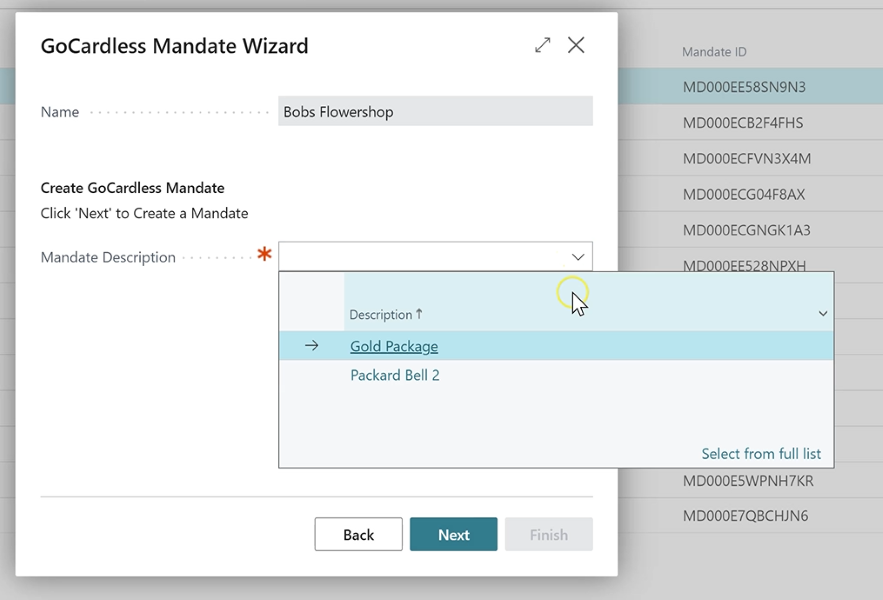
Figure 16 | GoCardless Mandate Wizard - Mandate Description
And the Mandate Wizard is complete, so click ‘Finish’.
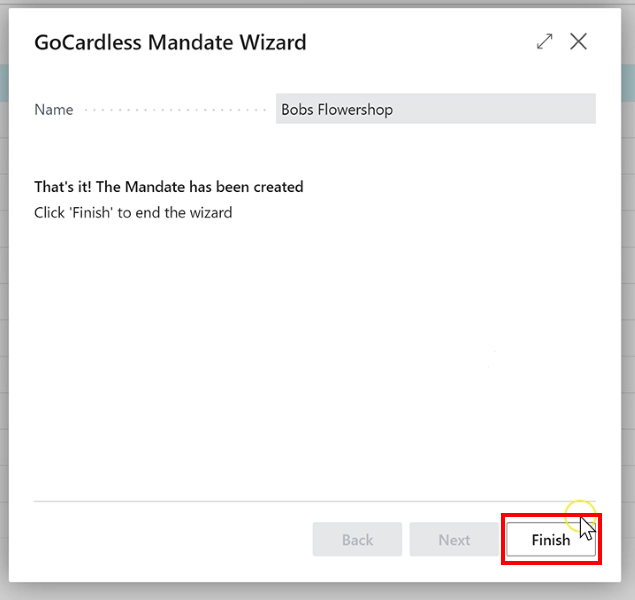
Figure 17 | GoCardless Mandate Wizard Complete
The new Manual Mandate will appear in the Mandate list.
The ‘Mandate Status’ is currently ‘Pending Submission’ which means it has been submitted to the Customers bank and will update once the job queue has run.
Once a mandate has been created and submitted to GoCardless, and has a status of “Pending Submission”, GoCardless uses the BACS system to submit the mandate to the customers’ bank, and the BACS system tends to run on batches. Therefore, it will typically remain as “Pending Submission” until around 4pm. Thereafter it will move to a status of “Submitted”, and then move to either “Active” or “Failed” the following day. However, even though the status is “Pending Submission” you can still use it to create a payment, as it takes a few days for the payments to go through anyway.
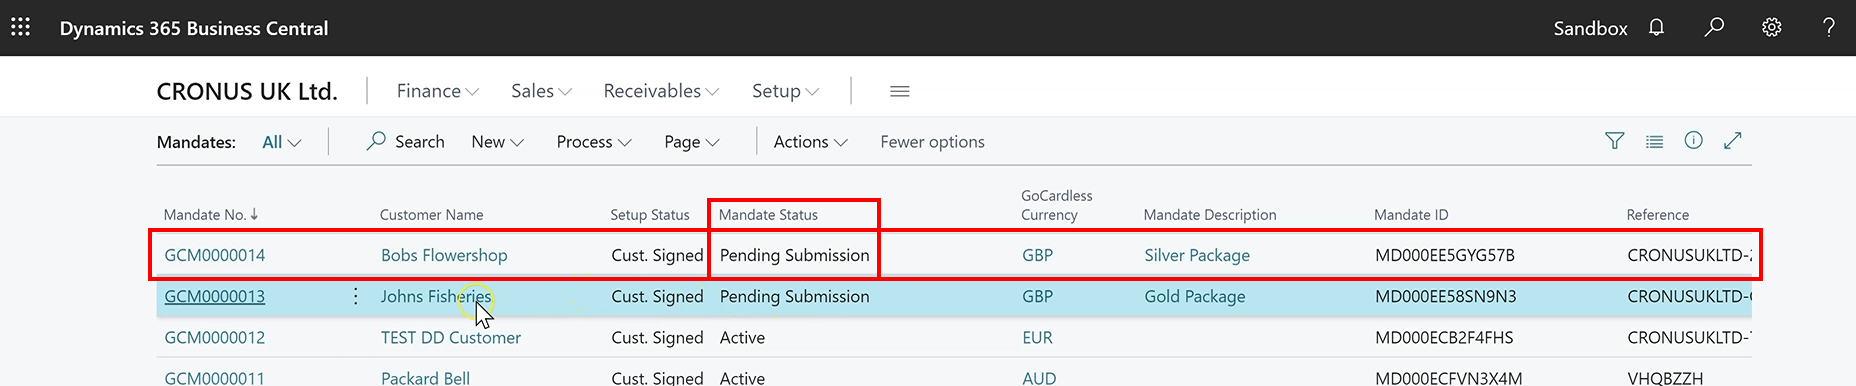
Figure 18 | New Mandate Status