Astral Recurring Invoices - Help:
This topic has previously been discussed in the Setup section. However, for example purposes, and assuming that you want to 'Auto-create' and 'Auto-post' the Sales Invoices from Recurring Invoice Templates, open the Setup page by clicking 'Setup' action:
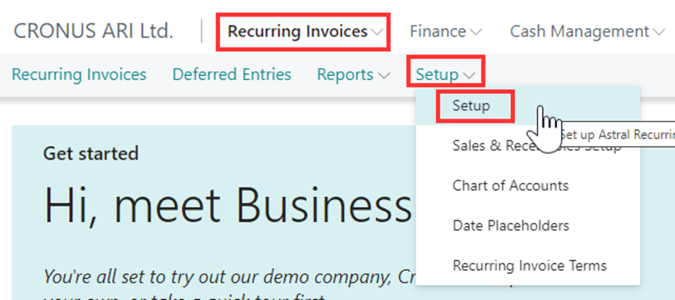
Figure 1 | Setup
The 'Setup' page will be displayed:
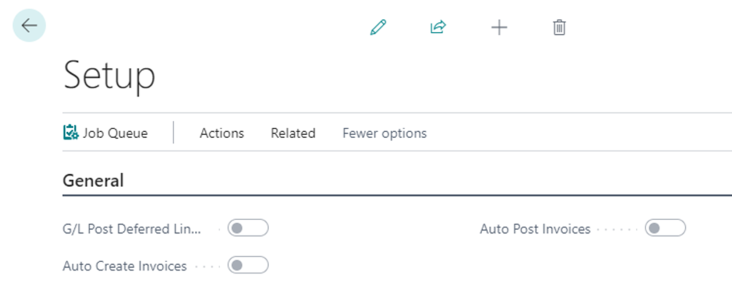
Figure 2 | Setup Page
Click the 'Make changes to this page' icon at the top of the page.

Figure 3 | Make Page Changes
And enable the 'Auto Create Invoices' and 'Auto Post Invoices' switches.
Click the 'Make changes to this page' icon at the top of the page.
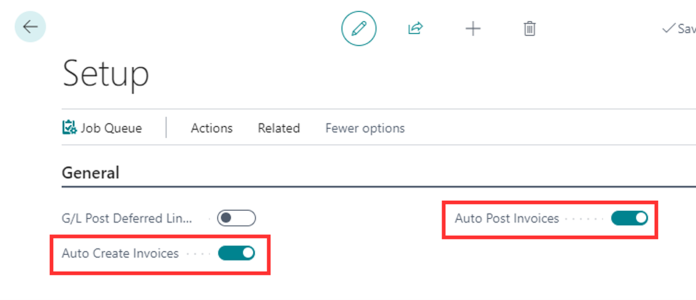
Figure 4 | Enable Auto Post Options
Then, to check that the Job Queue Entry is enabled, click the 'Job Queue' action button.
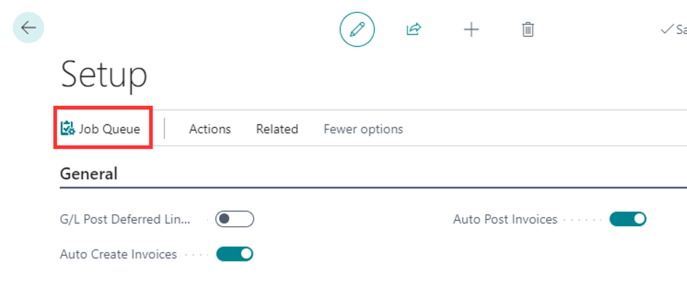
Figure 5 | Job Queue
The following page will open, and note that by default it is configured to run every 24 hours (1440 minutes) within a 1 hour timeframe.
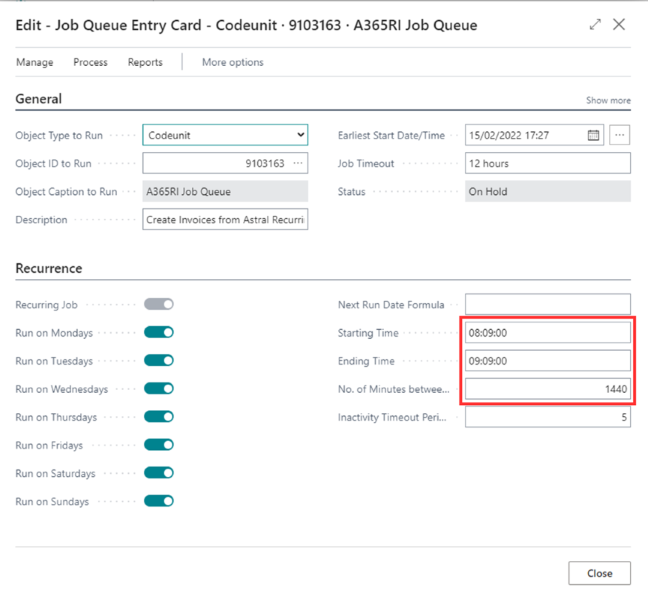
Figure 6 | Job Queue Entry Card
Before enabling the Job Queue Entry, make sure that you specify a timeframe that best suits your needs.
Once configured, select 'Set Status to Ready' to enable the job.
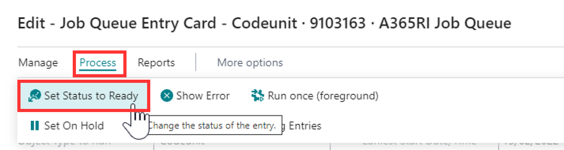
Figure 7 | Set Status To Ready