Astral GoCardless - Help:
Watch the Video
This topic will show you how to configure the Astral GoCardless Extension using the Assisted Application Setup Wizard.
In the search bar type 'Astral GoCardless Setup' and select Astral GoCardless Setup from the list.
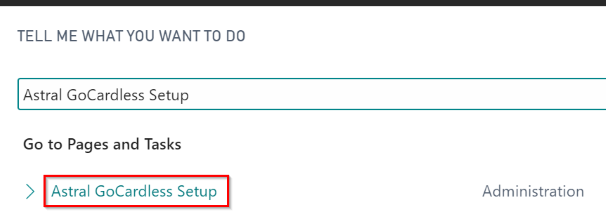
Figure 1 | Astral GoCardless Setup
The Astral GoCardless Setup page is shown as figure 2, and the next step is to click on 'Assisted Application Setup'.
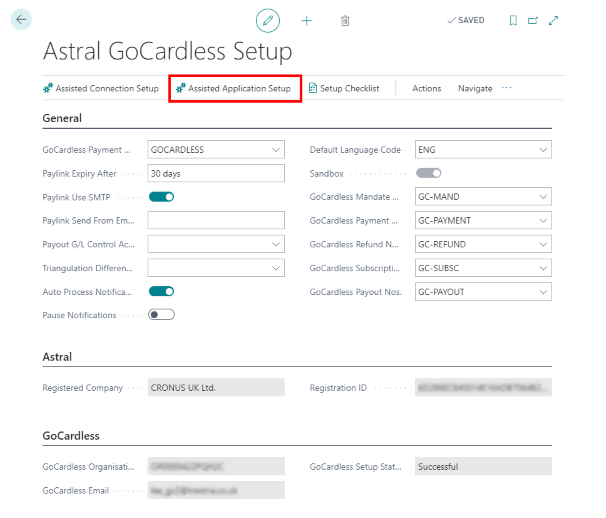
Figure 2 | Astral GoCardless Assisted Application Setup
The window in figure 3 will open, click 'Next'.
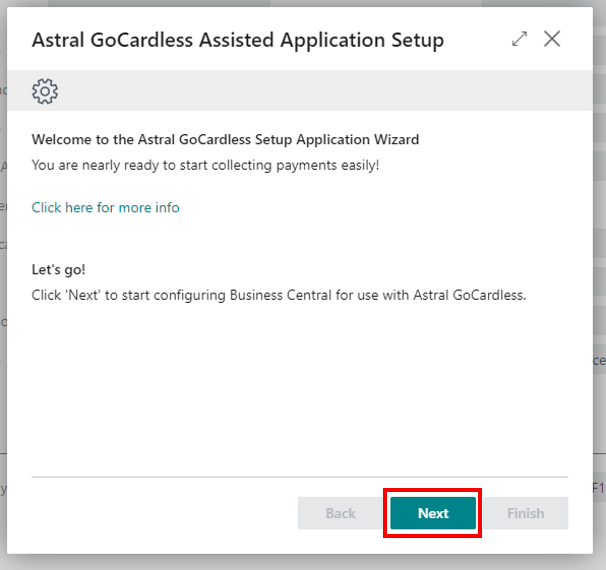
Figure 3 | Assisted Connection Setup Window
Select the ‘Payout G/L Control Account’ by clicking on the three dots, selecting the G/L Account and then click on 'Next'.
NOTE: Since a Payout will typically contain multiple customer payments, multiple GoCardless fee entries, and refunds and charge backs, and might include a Bank entry that is in a different currency to the payments collected, each line of the journal uses a balancing account. The Payout Journal will always leave a zero balance in this control account.
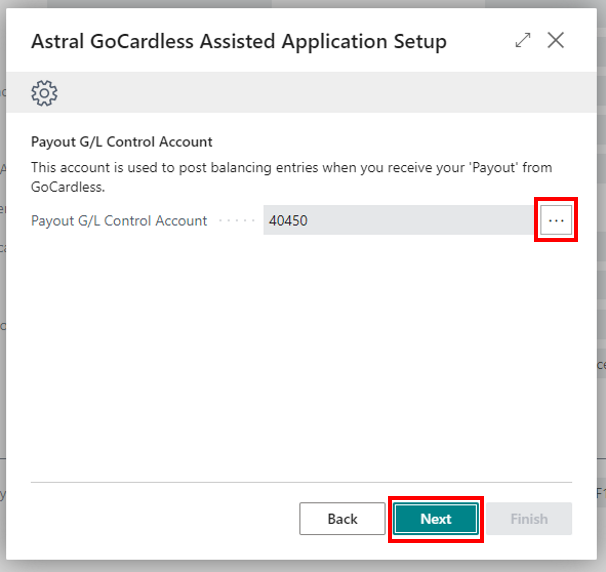
Figure 4 | Payout G/L Control Account
Select the ‘Triangulation Difference G/L Account’ by clicking on the three dots, selecting the G/L Account and then click on 'Next'.
NOTE: If you were to collect payments in USD, and have them paid out to an EUR bank account, but your Local Currency is GBP, an exchange rate triangulation difference may occur. We recommend selecting an account within the Income Statement.

Figure 5 | Triangulation Difference G/L Account
This next window gives you the option to “PayLink Use Email” checkbox in order to enable the ability to send generated PayLinks using your email configuration. This gives you the option to use your default email account when sending out PayLinks.
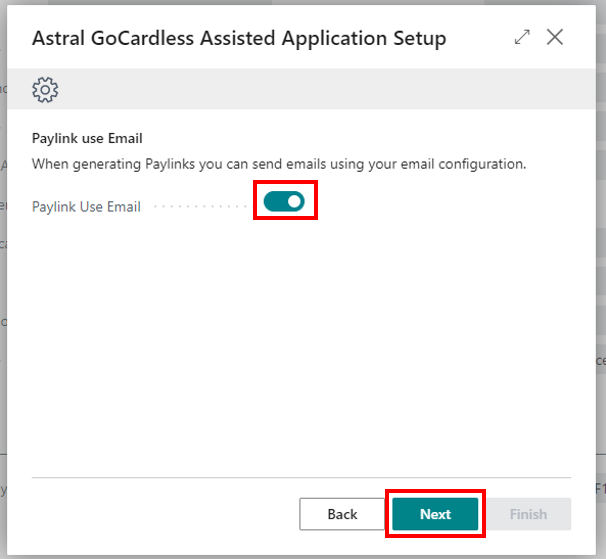
Figure 6 | PayLink Use SMTP Option
Select the Default Language Code by clicking on the three dots, selecting the language code and then click on 'Next'.
NOTE: This determines the default language that emails will be sent in. If not specified, the email will use the ‘EN’ email template. Also note that the three digit ISO Language Code is converted in to a two digit ISO639-1 Language Code. The languages supported are: DA, DE, EN, ES, FR, IT, NL, PT, SE, SL, SV. The decision to support these languages is in line with the languages that GoCardless support. Any other languages will result in the email being sent using the ‘EN’ email template.
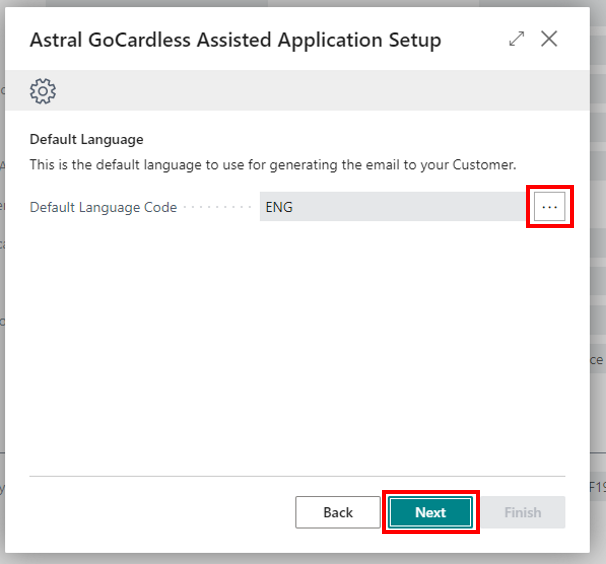
Figure 7 | Default Language
Input the 'Default Payment Description', then click 'Next'.
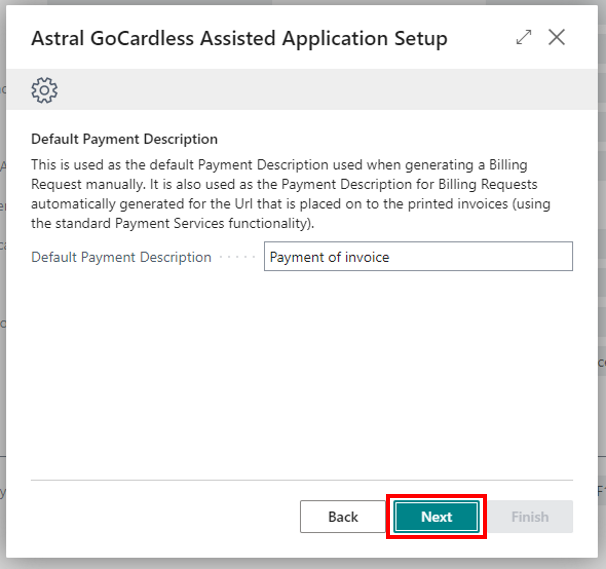
Figure 8 | Default Payment Description
Select the 'Default Mandate Description' using the drop-down, then click 'Next'.
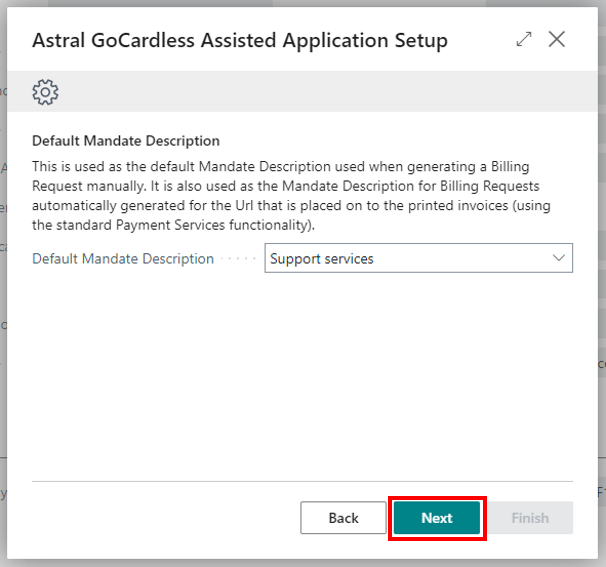
Figure 9 | Default Mandate Description
The next thing to do is to fill in the ‘Fees Account Type’ and ‘Fees Account’.
This gives you the option to either assign the fees to a default G/L Account code, or to a Vendor for each month when you receive an invoice for the fees associated with GoCardless.
Now click ‘Next’.
NOTE: In the UK, (at the time of writing) GoCardless Fees are soon to be subject to VAT. The GoCardless api is not yet ready to support this. If VAT (or other taxes) is applicable in your location, we suggest having the Fees within the Payout posted to a Balance Sheet Control account. Since VAT is applicable, GoCardless will provide a VAT Invoice, and you should post this in to your system in the same manner that you would any other VAT Invoice. Since the fees have already been deducted, we suggest creating a Payment Journal to settle the invoice, Debiting the GoCardless Vendor Account and Crediting the Fees G/L Account.
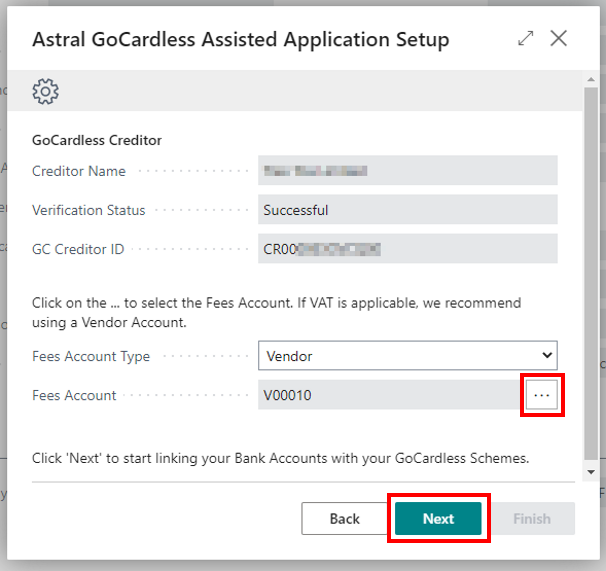
Figure 10 | Fees G/L Account
Select the 'Bank Account' by clicking on the three dots, then click on 'Next' (Repeat this for all the Schemes).
NOTE: If you have enabled a Scheme for a currency that you do not have a Bank Account for, then you will be using GoCardless' Borderless Payments. In this scenario, you would specify the bank account that is your default payout bank account.
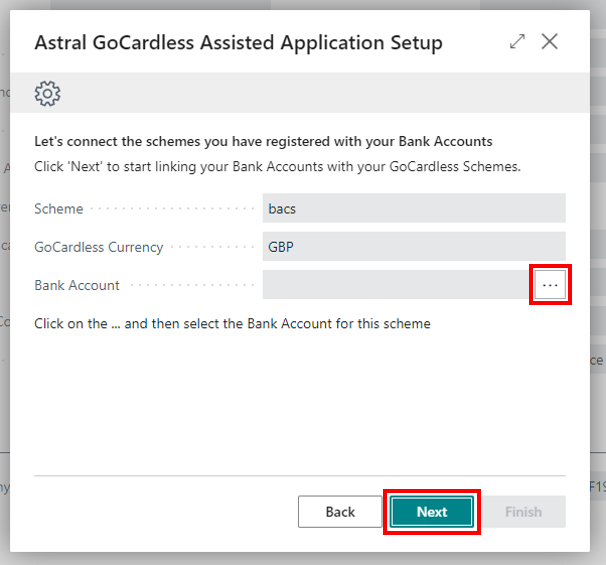
Figure 11 | Bank Account
Once you have selected the Bank Accounts for all your Schemes, click on 'Finish'.
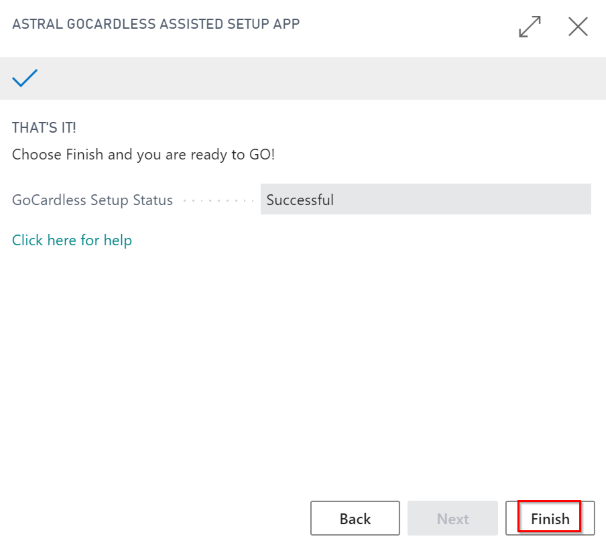
Figure 10 | Finish