Astral GoCardless - Help:
Watch the Video
This topic will show you how to establish the connection between Microsoft Dynamics 365 Business Central and your GoCardless merchant account.
In the search bar type 'Astral GoCardless Setup' and select Astral GoCardless Setup from the list.
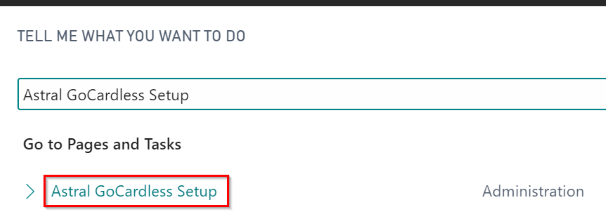
Figure 1 | Astral GoCardless Setup
The Astral GoCardless Setup page will open (figure 2).

Figure 2 | Astral GoCardless Setup Page
Click on 'Assisted Connection Setup' in the ribbon and the window in figure 3 will open.
Now click 'Enable Http Client' in the popup of the window.
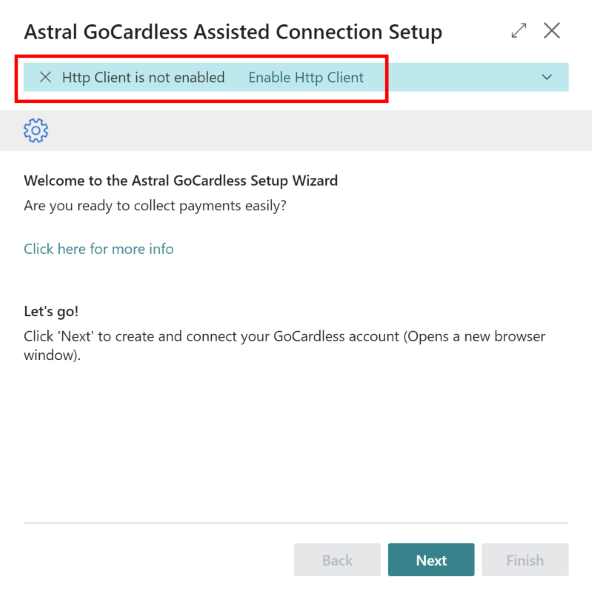
Figure 3 | Assisted Connection Setup Window - Enable Http Client
Select 'Astral 365 - Astral GoCardless' from the Installed Extensions page.
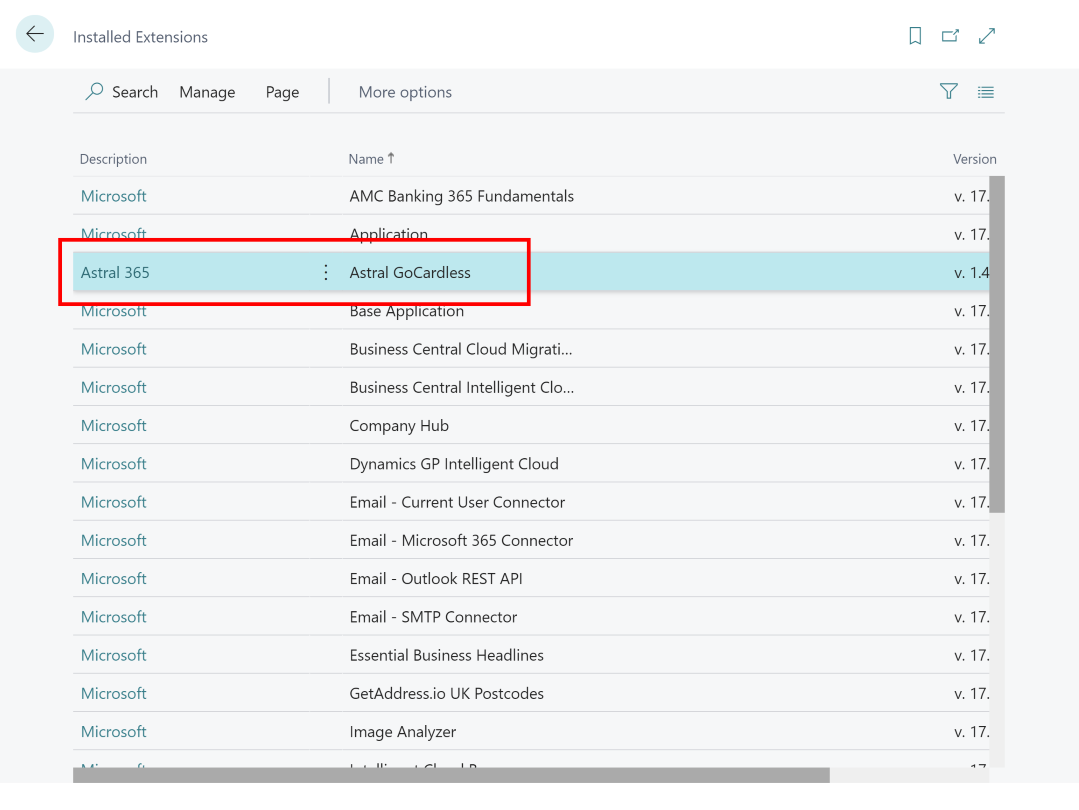
Figure 4 | Installed Extensions Page
Click on the three dots then select 'Configure'.
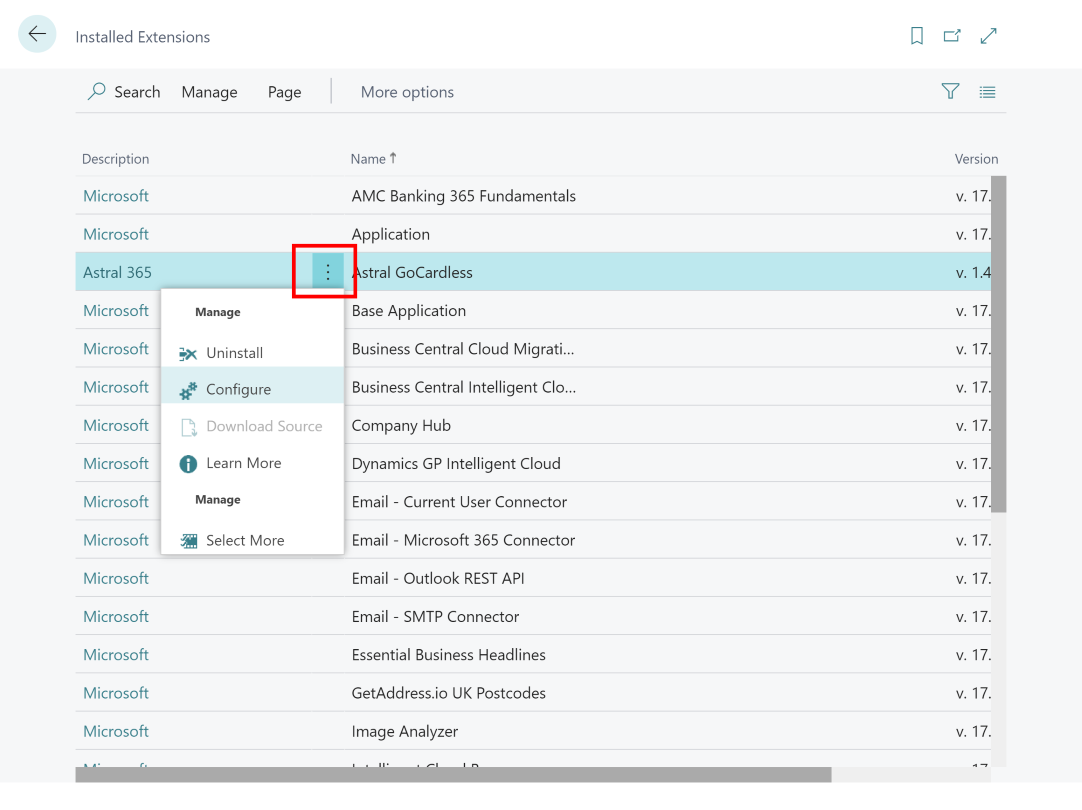
Figure 5 | Installed Extensions Page - Configure Astral GoCardless
Toggle on 'Allow HTTPClient', ensure that the selection has been saved, then press Esc.
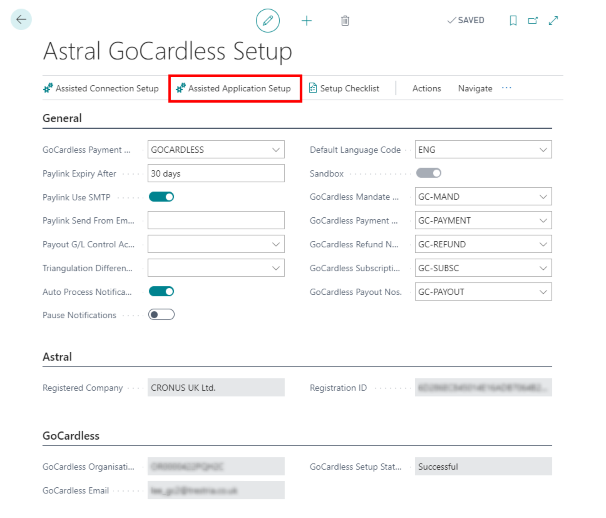
Figure 6 | Toggle on 'Allow HTTPClient'
You should then return to the Assisted Connection Setup wizard.
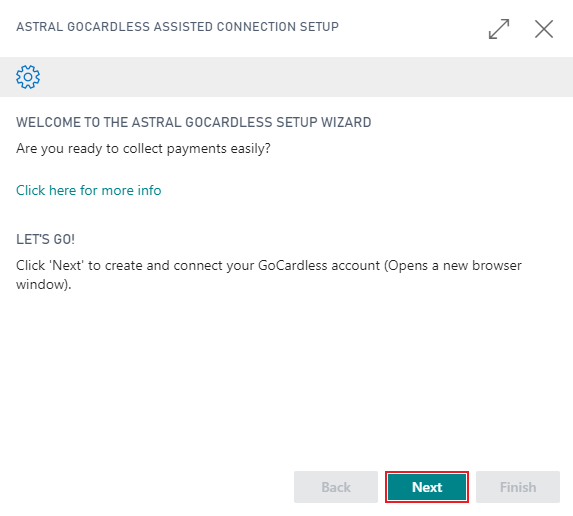
Figure 7 | Assisted Connection Setup Window
Click on 'Next' and create your GoCardless Account (figure 4).

Figure 8 | Create your GoCardless Merchant Account
If you already have a GoCardless Merchant Account, scroll down the page and click on 'Sign In'. Then enter your credentials and click on 'Connect account' (figures 9 and 10).

Figure 9 | Already have a GoCardless Merchant Account - Sign In
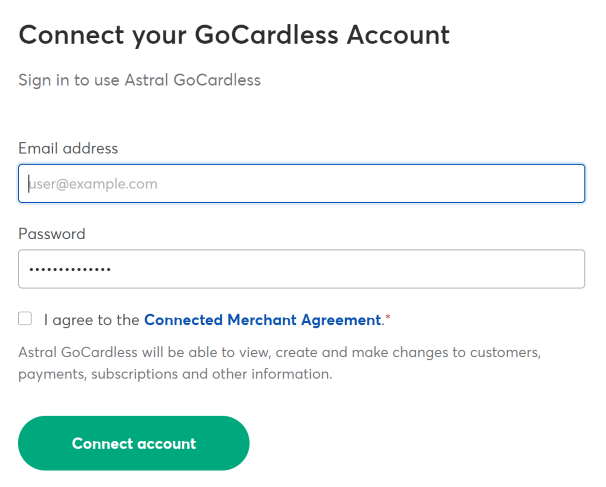
Figure 10 | Already have a GoCardless Account - Connect Account
Once you have created your GoCardless Merchant Account, you will see the window in figure 11.
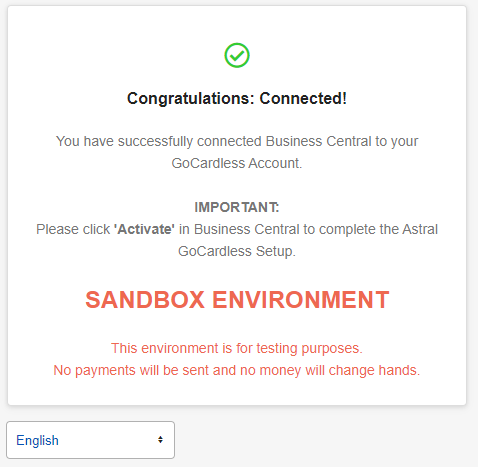
Figure 11 | Successful GoCardless Connection
Now that the connection has been established, it needs to be 'Activated' in Business Central, by clicking on 'Next'.
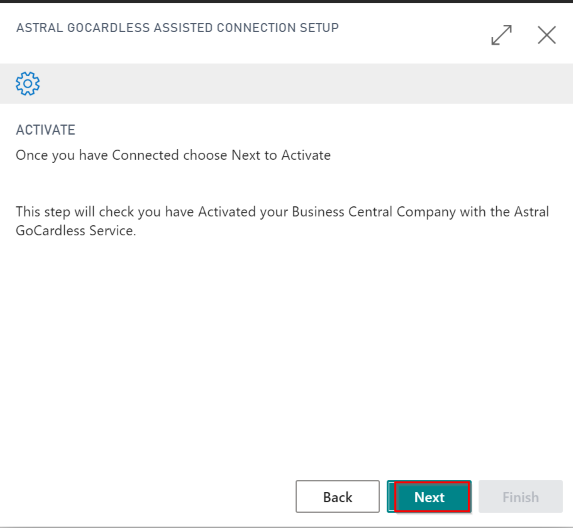
Figure 12 | Assisted Connection Setup Window - Next
Once it has been activated you will see the 'GoCardless Setup Status'. This shows the Status of your account with GoCardless (typically ‘Action Required’, ‘In Review’ or ‘Successful’). If the Setup Status is anything other than ‘Successful’, a new browser window will open taking the user to GoCardless’ Onboarding landing page. Click on 'Finish'.
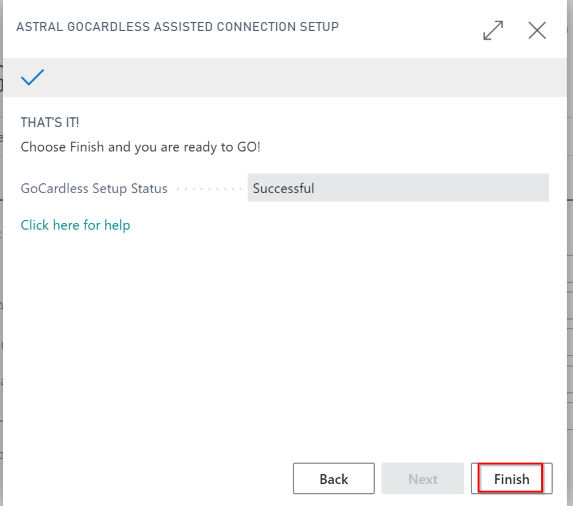
Figure 13 | Assisted Connection Setup Window - Finish
Now the Astral GoCardless Setup page should look like figure 14.
Figure 14 | Astral GoCardless Setup Page