Astral Pay - Help:
Watch the Video
To install Astral Pay, go to Microsoft AppSource and search for 'Astral Pay' using the search function.
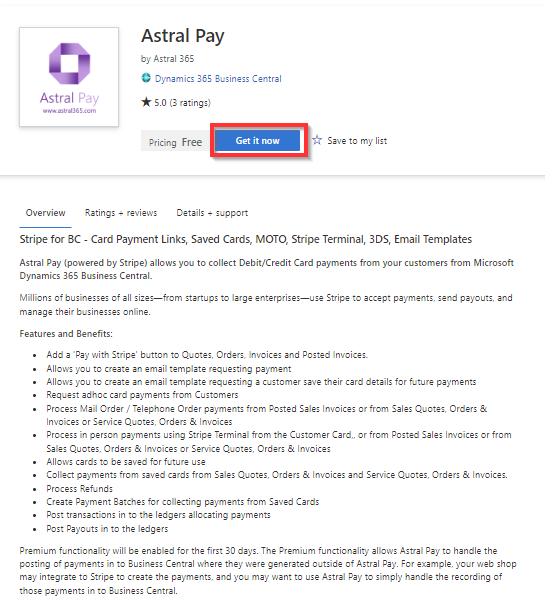
Figure 1 | Astral Pay on AppSource
Once on the Astral Pay extension page, click 'GET IT NOW'.
In the next window, click on the Privacy confirmation tick box and then 'Continue'.
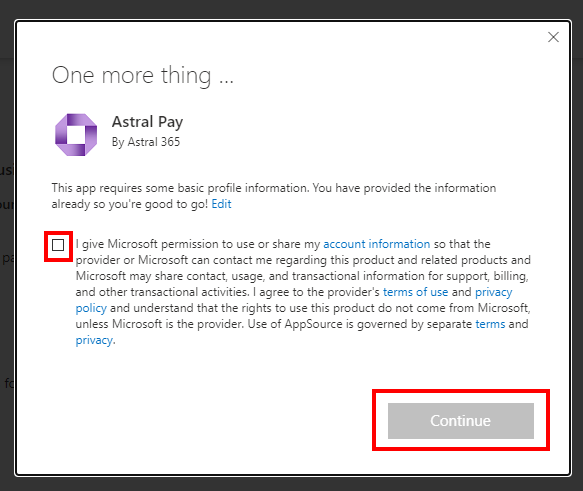
Figure 2 | Privacy Confirmation
The download will begin on your Dynamics 365 Business Central system and you may be asked to select the database you want this installed into.
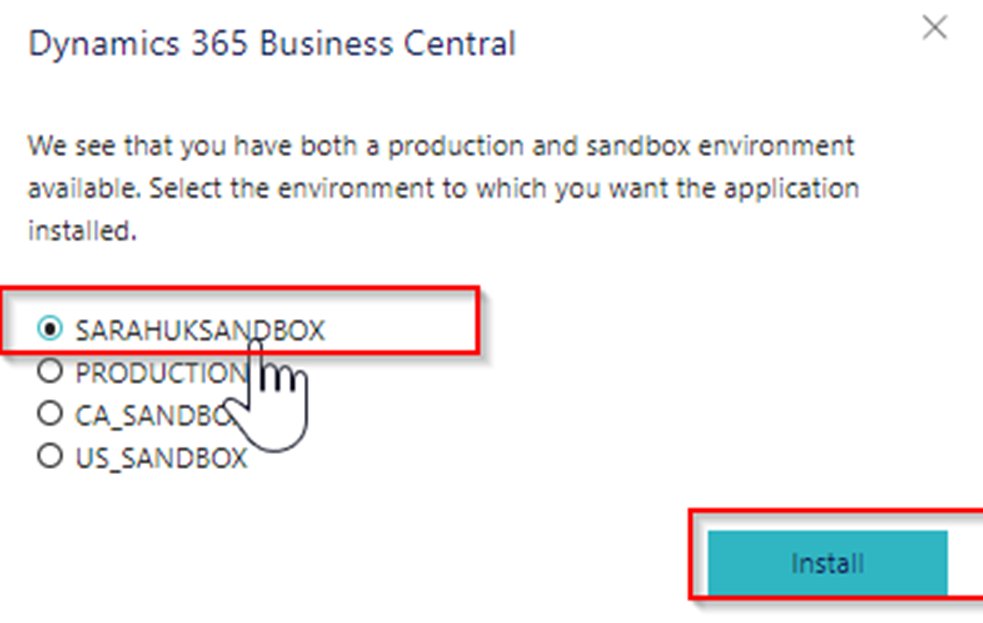
Figure 3 | Select Database
Select this and click 'Install'.
Next, choose the Language, then click 'Install'.
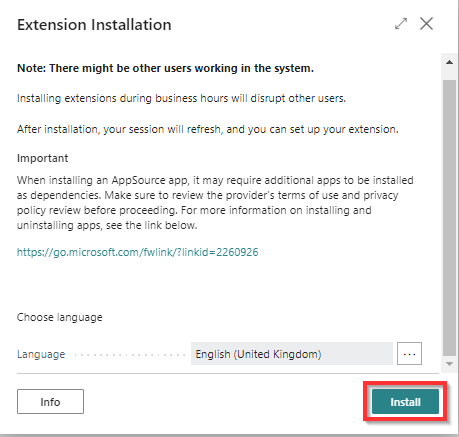
Figure 4 | Select Language
You will receive a confirmation message that the extension is being installed.
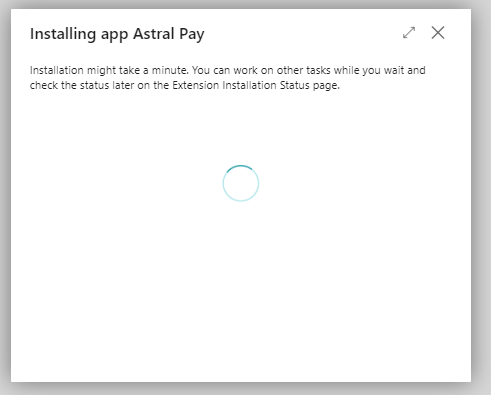
Figure 5 | Download Confirmation
Once the Extension is installed, the below page “Setups for Astral Pay” will open:
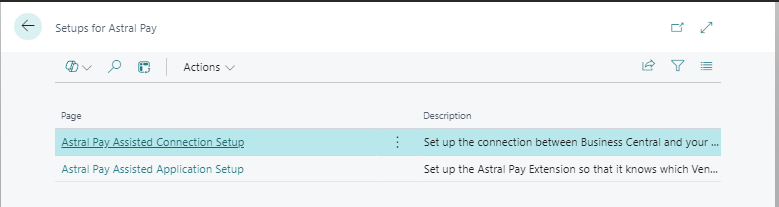
Figure 6 | Setup Wizards
There are two assisted setup wizards:
Both need to be completed before you can use Astral Pay.
Help instructions for these can be found in sections 3 and 4 of the Astral Pay Help index.