Astral GoCardless - Help:
Watch the Video
From your Role Centre open the ‘Customers’ list and then open the Customer card. Alternatively, click ‘New’ from the list, to create a new Customer.
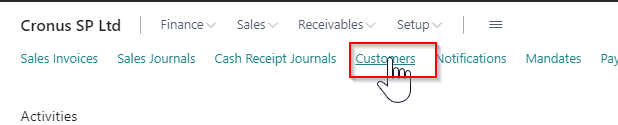
Figure 1 | Open Customers List
For existing and new Customers, change the Payment Method to 'GOCARDLESS'. By setting this Payment Method, the system knows to add the Customer Default Mandate to each Invoice that is created from now onwards.
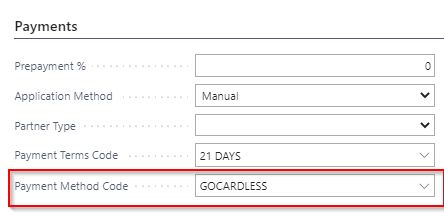
Figure 2 | Payment Method Code
Click on ‘Navigate’ and then ‘GoCardless Mandates’.
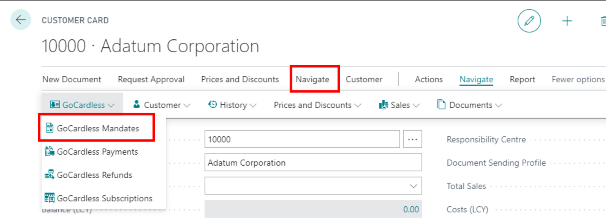
Figure 3 | GoCardless Mandates
Click ‘+New’. The GoCardless Mandate screen will open.
The 'Mandate No.' is automatically generated and the 'Customer No.' is prefilled.
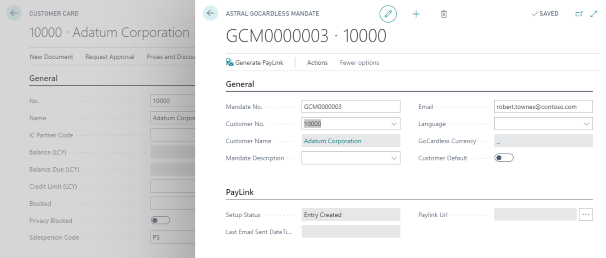
Figure 4 | Mandate Card
Type in a 'Mandate Description', for example, “Advertising subscription” (or select one previously entered). This field is mandatory before sending the PayLink email.
NOTE: The Mandate Description is only used by GoCardless on the web pages that are displayed to the user when creating a Mandate. It is just a small description shown as a reminder as to what the Mandate is for.
In the 'Scheme' box, you can leave this blank, or populate if a specific Scheme is required by the Customer e.g. ACH or BACS.
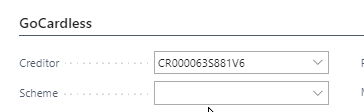
Figure 5 | Payment Scheme
Once you have populated the details, click on either ‘Send PayLink’ or ‘Generate PayLink’. Which button is visible depends on whether the 'Use Email' switch is enabled in the Astral GoCardless Setup.
Figure 6 | Send PayLink
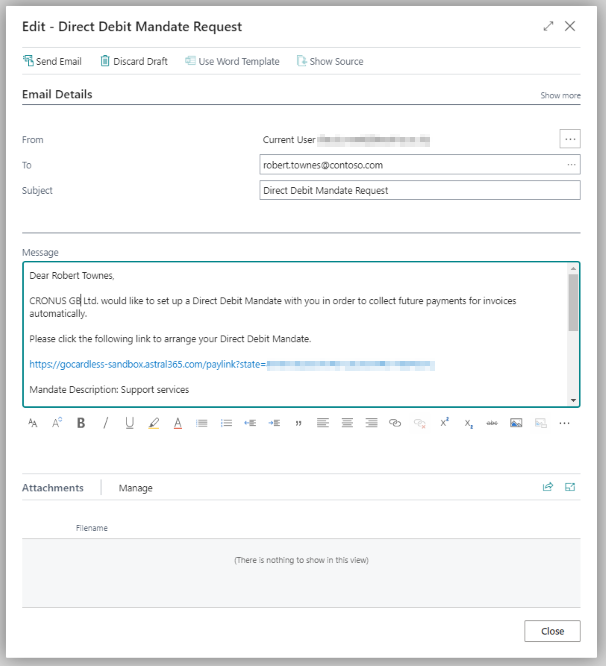
Figure 7 | Generate PayLink
If you clicked 'Send PayLink', an email message pops up to verify the text and email address you are going to send to your Customer. Click ‘Send Email’.
The Customer will receive an email requesting them to click the link to confirm the Direct Debit Mandate. The link will be to the astral365.com domain, and once clicked, it will forward the user to the correct page on the GoCardless website.
Example email below (figure 8).
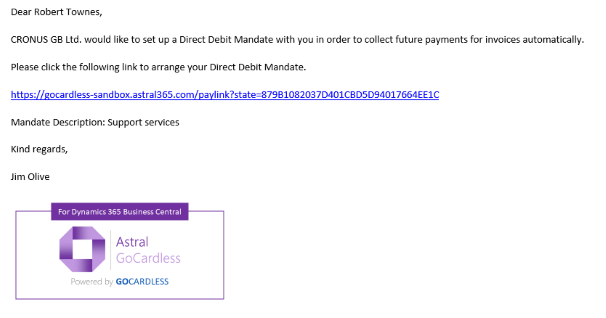
Figure 8 | Customer Mandate Request Example Email
NOTE: In the email template, we have intentionally left the PayLink visible rather than change the display text to 'here', and we include a logo. This is to give your Customer reassurance that the https://gocardless.astral365.com address is correct, and that they will be entering their details in to the https://gocardless.com website.
Once your Customer has entered their details and confirmed the Direct Debit Mandate, they will get a confirmation message on screen.
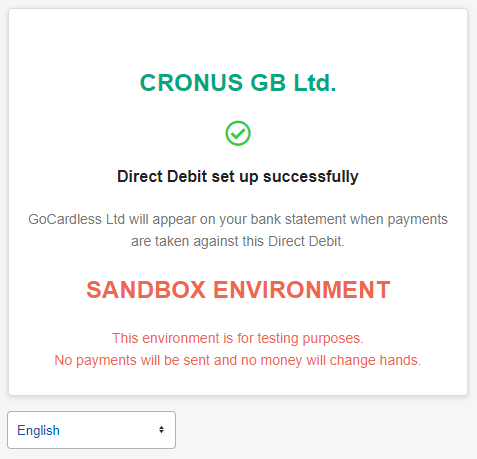
Figure 9 | Direct Debit Confirmation Message
You will receive an email from GoCardless once the Direct Debit Mandate has been confirmed and Business Central will be updated to show that the Direct Debit Mandate has been completed once the Notifications come through via the Automated Job Queue process.
The number of GoCardless Mandates for a Customer is visible from both the Customer List and their card (see figures 10 and 11).
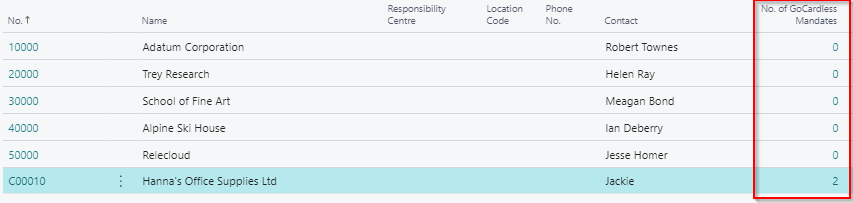
Figure 10 | View Customer GoCardless Mandates
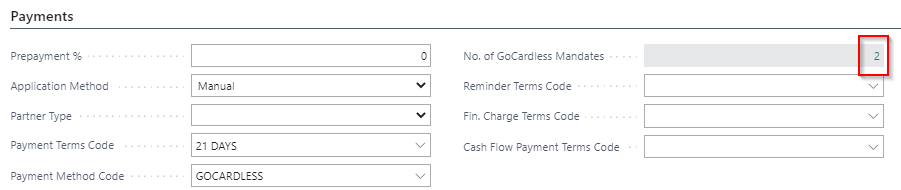
Figure 11 | View Customer GoCardless Mandates
You can manage the completion of Mandates via the Role Centre tiles, clicking on 'Incomplete Mandates'.

Figure 12 | Role Center Tiles