Astral Pay - Help:
Should your customer wish to provide Card Details over the phone, it is possible for the user to enter these in to a Business Central page. This can be actioned from the Card and List pages of the Sales Quotes, Sales Orders, Sales Invoices, and Posted Sales Invoices. It is also possible to request ad-hoc payments from the Customer List and Customer Card.
At no point are the card details stored in Business Central. In fact, the page where the user enters the card details is just an iframe displaying content that is hosted by Stripe.
Before attempting a MOTO payment, there is a small amount of setup required. Firstly, by default MOTO payments are not enabled on your Stripe account. Therefore you need to reach out to support@stripe.com to request that MOTO payments are enabled.
Once enabled, Astral Pay is not able to confirm that MOTO is enabled via the Stripe api, and you therefore need to open the Astral Pay Setup page and use the ‘Enable MOTO Payments’ toggle switch to enable the functionality in Astral Pay.
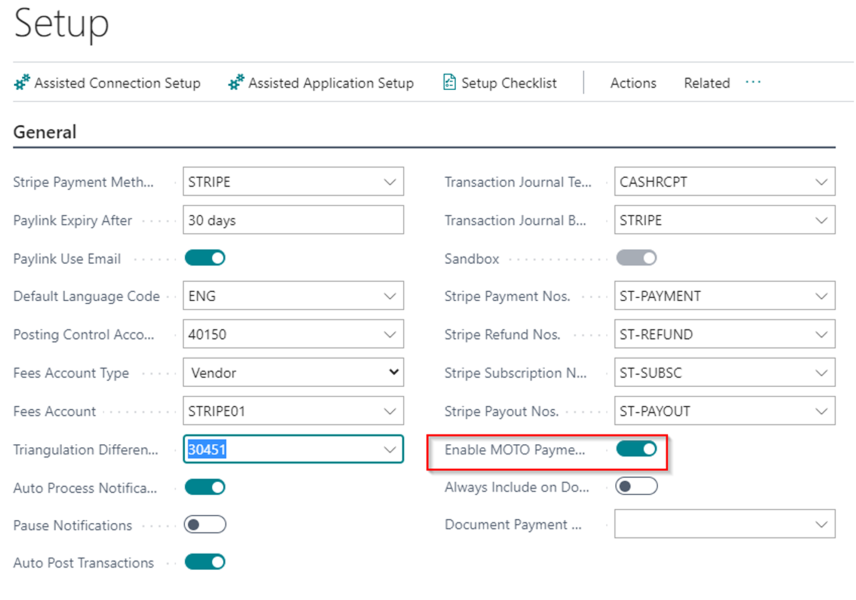
Figure 1 | Astral Pay Setup Page
When taking a Stripe MOTO payment, the Document Payment Confirmation window will show the Document Number and Amount. There may be occasions when you want to change this amount, for example you may want to process a part-payment against an invoice or make a payment on account for a customer. The ‘Modify MOTO Payments Amount’ setting will allow you to change the suggested amount when taking MOTO payments. This setting can be enabled on the Astral Pay Setup page:

Figure 2 | Modify MOTO Payments Amount
If ‘Set MOTO Post Code’ is enabled then the post code from the Sell-to Customer’s address will default in to the MOTO payment page when the debit or credit card details are entered:

Figure 3 | Set MOTO Post Code
To take a MOTO Payment from the Posted Sales Invoices page, select the invoice and click on 'Action' then 'Stripe' and ‘Stripe MOTO’.
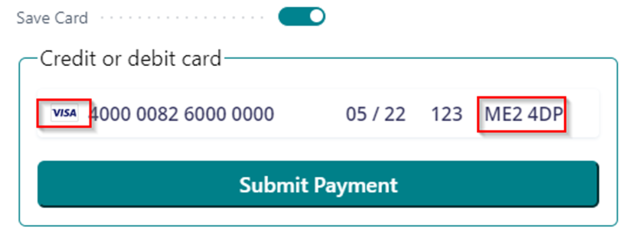
Figure 4 | Stripe MOTO Action
If the setup field ‘Modify MOTO Payment Amount’ is toggled on the below page will appear where the user can amend the amount to pay before clicking on OK:
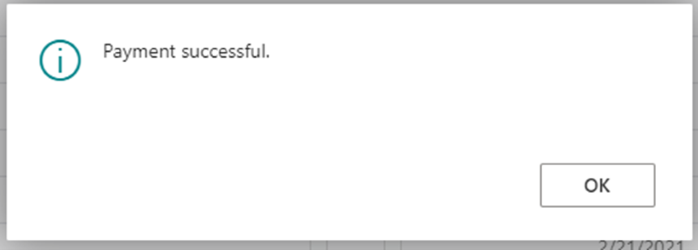
Figure 5 | Modify Amount
The following window will be displayed.

Figure 6 | Enter Debit/Credit Card Info
The user should enable the ‘Save Card’ switch if the card can be used for future payments, and enter the ‘Credit or Debit Card’ details. For testing purposes, please take a look at https://stripe.com/docs/testing#international-cards for a list of test card details that can be used for your required currency. On entering one of the United Kingdom test cards, the ‘Visa’ sign is displayed, and the ‘Post Code’ field becomes available.

Figure 7 | Card Details
The user will now click ‘Submit Payment’, to complete the process and a ‘Payment Successful’ dialog will be displayed.

Figure 8 | Payment Successful
As this is a synchronous process, the Stripe ‘charge’ and Stripe ‘balance transaction’ are retrieved and posted immediately.
A new ‘Payment Batch’ will have been created with a single ‘Payment Entry’.
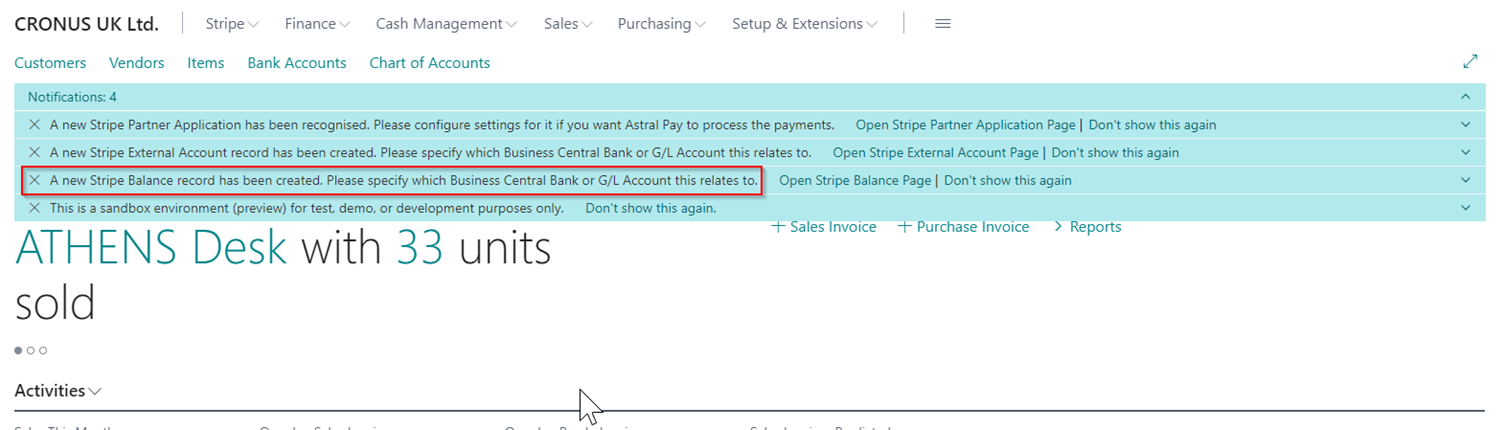
Figure 9 | Payment Batch Payment Entry

Figure 10 | Payment Entries
In the example above, the transaction actually failed to post to the ledgers. The ‘Transaction’ entry was stored, but the ‘Posted’ field is not ticked, and the invoice is not showing as paid.

Figure 11 | Transactions
The reason for this is because we have not informed Astral Pay of where the funds should be posted to. We know one side of the entry (the customer and specifically the invoice). On the Business Central Notifications we can see a Notification about the ‘Stripe Balance’.

Figure 12 | Stripe Balance Notifications
This is covered in more detail in the ‘Stripe Balances’ section. After setting the Bank Account that should be posted to, future payments will post through entirely, with the payment showing on the Customer’s ledger, and the Invoice being fully allocated.