Astral GoCardless - Help:
Watch the Video
On your role centre page, head to 'GoCardless' and click 'Payouts'.

Figure 1 | Payouts
From the 'Payouts' page, select a Payout entry and click 'Post' in the ribbon.

Figure 2 | Payouts Page
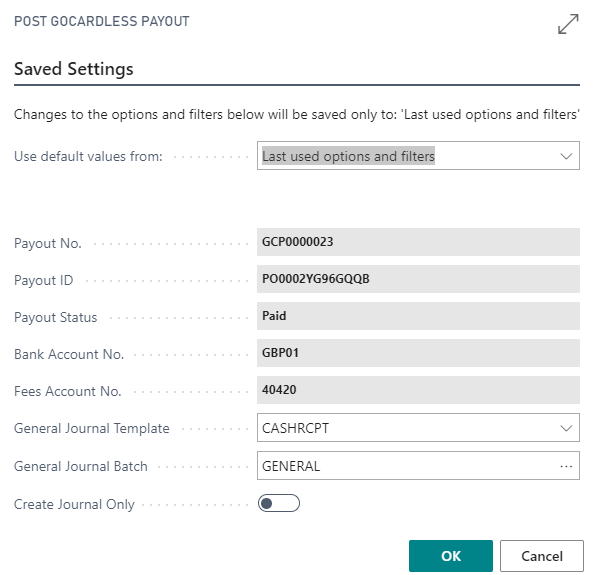
Select the General Journal Template to use from the dropdown and then choose a General Journal Batch from the by clicking the ellipse and selecting from the list. You can choose to 'Create Journal Only' by checking the box or leave it unchecked to post the entries straight to the bank account and general ledger. Click 'OK' to proceed.

Figure 3 | Post GoCardless Payout
A note on Triangulation:
If on the occasion, there is a triangulation difference, Astral GoCardless would require you to transfer the Payout onto a Journal using the ‘Create Journal’ toggle.
An example of a triangulation difference would be if the base currency in Business Central is GBP, the bank account is in USD and the payment made is in EUR. As there is no currency exchange rate between the USD and EUR payment, the currency conversion occurs by converting the payment (EUR) into the base currency (GBP) and then for the system to convert the amount received in the bank account (USD) into the base currency (GBP). The system will then use the conversion rate between the bank and payment into the base currency as the basis to convert the Payment (EUR) to the bank account (USD).
If there is a difference converting this into the base currency, and a difference exists, Astral GoCardless will require the user to create a Journal and to post the triangulation separately to be sure that you are happy with the conversion.
For more information on Triangulation differences see the Currency Triangulation Differences Help section.
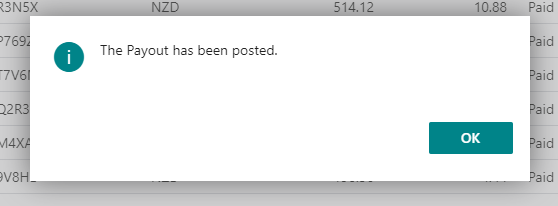
If 'Create Journal Lines' was not checked, the message in figure 4 will be displayed to confirm that the Payout has been posted.

Figure 4 | Payout Posted Confirmation
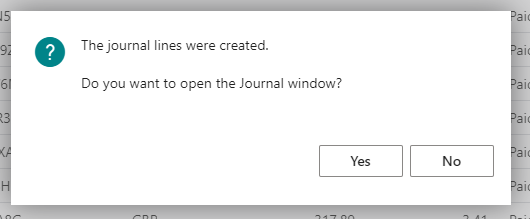
Alternatively, if the 'Create Journal Only' was checked, this message will be displayed to confirm that the journal lines have been created. Click 'Yes' to open the Journal to view the updated journal or 'No' to close.

Figure 5 | Create Journal Only Confirmation
From the journal, you can view generated lines and manually post the entries through 'Post/Print' → 'Post'.

Figure 6 | Journal Window
The entries will be posted to the Bank Account:

Figure 7 | Bank Account Ledger Entries
And to the Customer Ledger and General Ledger:

Figure 8 | General Ledger Entries

Figure 9 | Customer Ledger Entries